Difference between revisions of "Tutorial: Structure"

From Wolfire Games Wiki
Jump to: navigation, search
m
 
(4 intermediate revisions by 2 users not shown)
Line 81: Line 81:
 
[[image:picture 46.png|400px|thumb|left|Here is what we have so far. The main build is pretty much done, and some of the build's detailing is finished as well. However, if you really want to make this complete, you gotta add something for Rabbot to interact with...]]
 
[[image:picture 46.png|400px|thumb|left|Here is what we have so far. The main build is pretty much done, and some of the build's detailing is finished as well. However, if you really want to make this complete, you gotta add something for Rabbot to interact with...]]
  
[[Category:Tutorials|{{PAGENAME}}]]
+
[[Category: Tutorials]]
 +
[[Category: Modding]]
 +
[[Category: Overgrowth]]

Latest revision as of 23:35, 19 June 2011
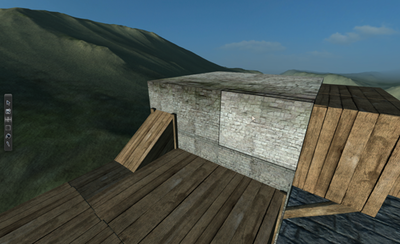
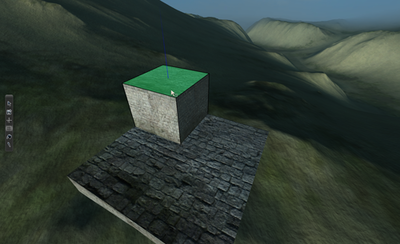
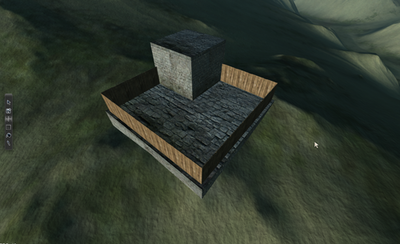
Select your desired location, and proceed to make a simple foundation for your establishment.
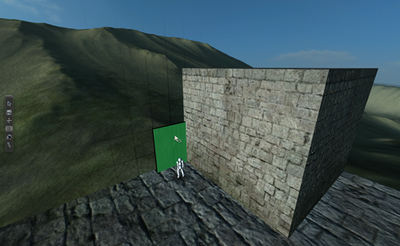
Make the next largest factor in your planned build. In my case, I planned to have a brick addition in the back corner.
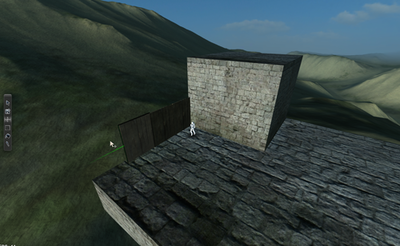
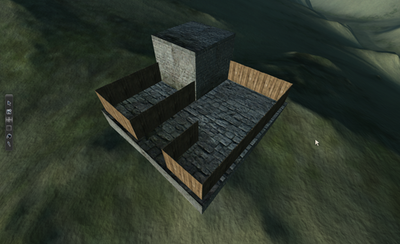
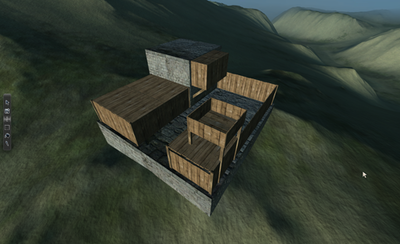
Now you can start the outline of the structure. It's not the definite outline, but it'll help give you an idea of what you want.
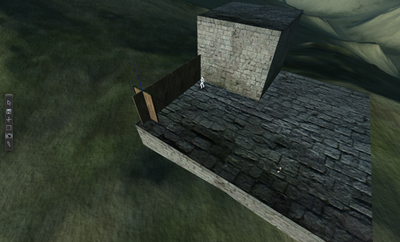
Simply use the Translate tool, pressing RMB + Shift + Control + Option to duplicate the walls like in this picture.
Using the Rotation tool you can press RMB + Control + Option to make a right with another wall piece.
Now the general outline has been finished. I gave a little room between the fence.xml and the edge of the foundation for later detailing.
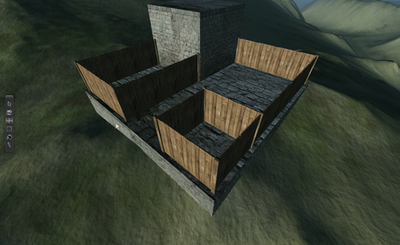
I then proceeded to make a more complicated outline so I could build off that.
Normally I'd suggest going from the biggest features of your build to the smallest, however editing can be tiring, so sometimes I change things up from detailing to large building.
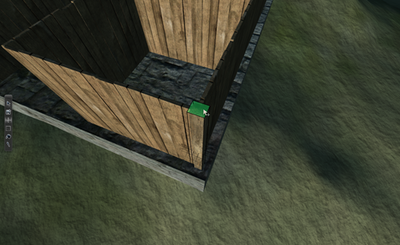
The post1.xml's have been set up on pretty much every corner of the wall. This helps clean things up so you can hide the connection of the fences, which can sometimes look nasty.
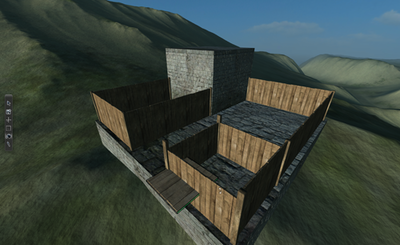
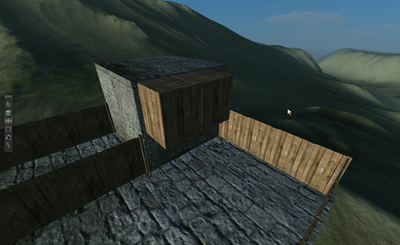
You can hold RMB + Control + Option and rotate the side of the wall to make a roof for a section. Also note how I lowered some of the wall around that box, but not the posts.
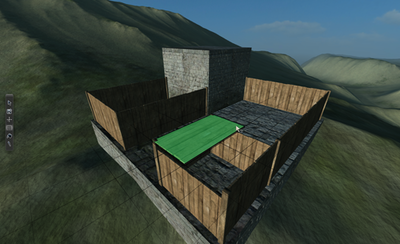
Then size the object your rotated to meet both posts.
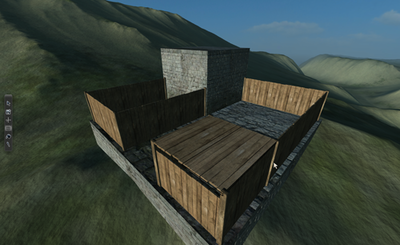
Duplicate it for a full roof of that section.
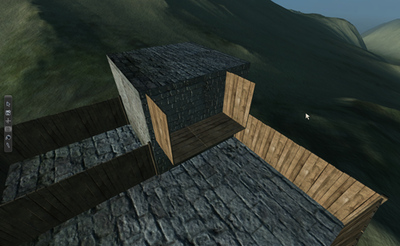
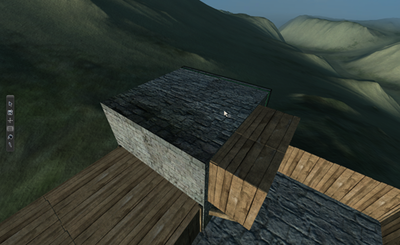
Moving on, I decided to make a nice section adjacent to that big brick block I made earlier
Finish off the block by making sure you can't see in from the outside.
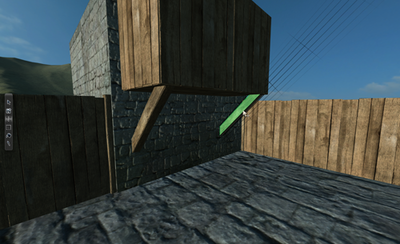
For the sake of realism, it's nice to put in some support beams under the wood section. You can make them tilted like mine, or straight.
Back to that entrance section, I added a smaller tower on top using the posts as support, and the fence1.xml as the floor.
Then I made a small wall around that upper tower, not too short, but enough to see over.
Over to the left, I decided it was time I put a roof over that section.
Now here is something that truly makes this structure more than meets the eye, by using the Scale tool with RMB + Shift + Option, I can make the four sides of this block, even the roof.
Now the inside of that brick block is hollow, and ready for editing.
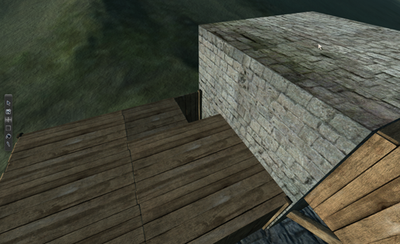
It's time for something more interesting, so I decided it'd be nice to be able to access that block via the wood section beside it.
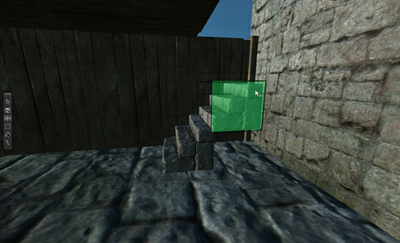
I added stairs because you'd enter the brick wall on the second floor.
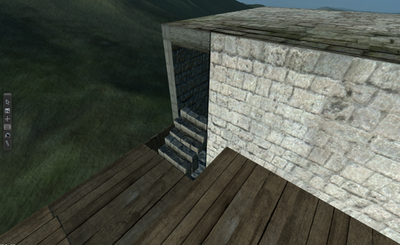
I then opened up the side of brick wall in preparation for the entrance.
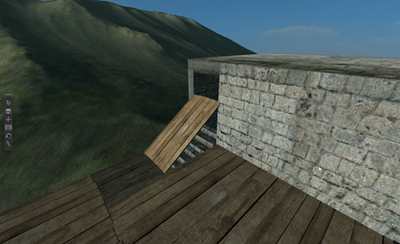
No one likes an open hole in the roof, here I put a roof on the entrance.
Here I did several things. Firstly, I rotated that slanted roof to make the sides of that entrance and I added some posts to border it. Secondly I filled in the small gap on top of that entrance. Finally, I then divided the entire side into smaller blocks so that the little block covering that entrance didn't look so bad.
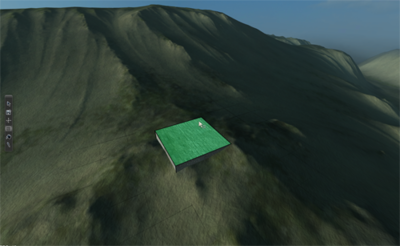
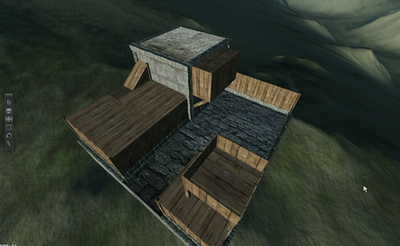
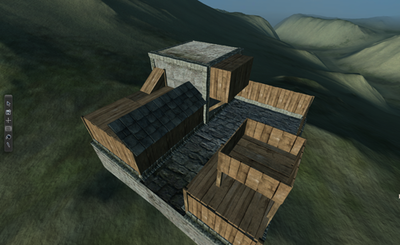
This is what I've done so far and it's only the beginning, ready for more?
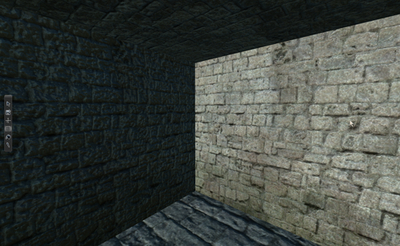
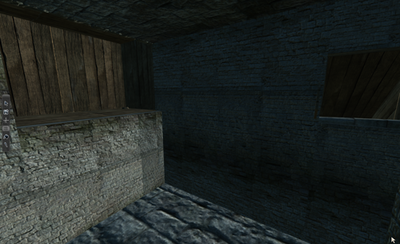
This is what the inside of the main block section looks like.
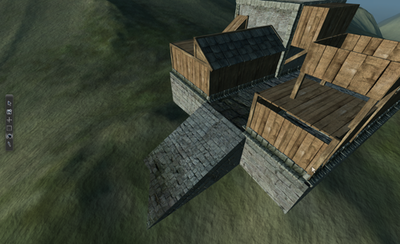
After finishing that stair entrance, I felt the need for some more detailing, so i used the curb1.xml object to line the entire establishment, and I even used it for the main block section.
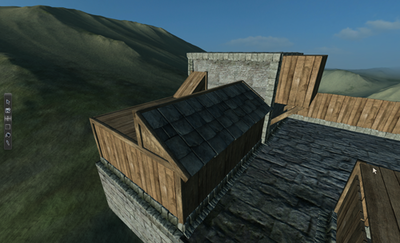
Then is was back to basic ol' building, this time I build a Slate roof, and used thinned posts as the side.
Also I used normal posts to border the whole thing.
Here I added a wall behind the slate roof to add more structure to it.
I realized that I forgot an entrance to the entire establishment, so I made a simple ramp and then later bordered it with the curb.
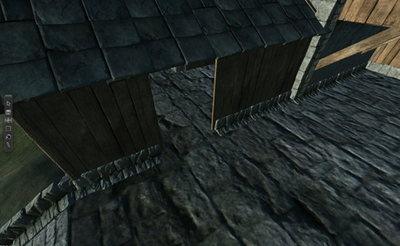
This is the wall right below the slate roof, I deleted on wall section in preparation for a door.
I did the same with the other walled section. Also notice how I made a gap in the roof near the top. It's really only there for the sake of diversity.
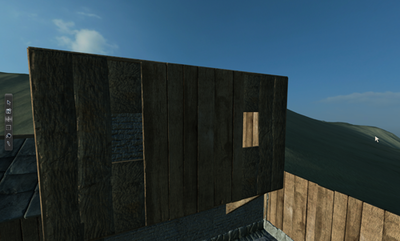
Before I finished the doors, I moved my attention to the wood section adjacent to the main block. I started my preparation for true windows.
Here I made the frame for the window using flattened posts.
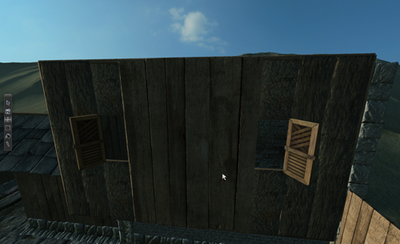
To finish this off, I added in the windows, mirrored them, and rotated them so they were open.
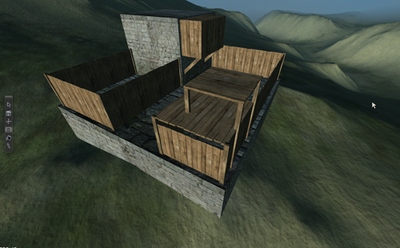
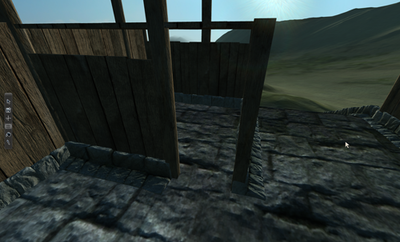
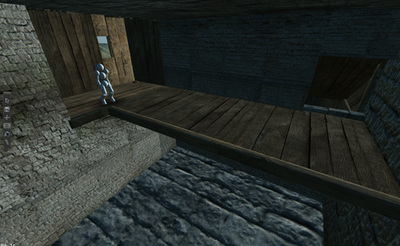
I also a half second floor to the inside.
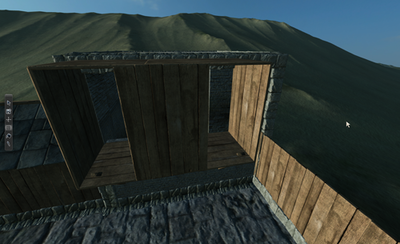
Elsewhere, beneath the side of that main entrance tower, I made an escape door to the outside world.
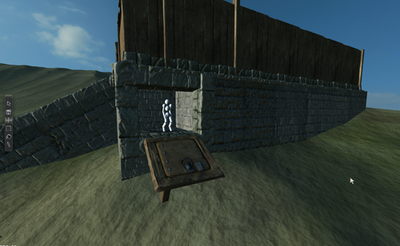
I also finally finished those doors using a similar method that I used for the windows.
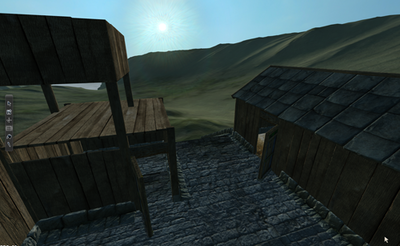
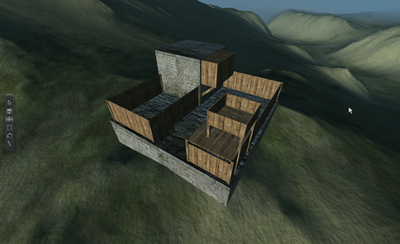
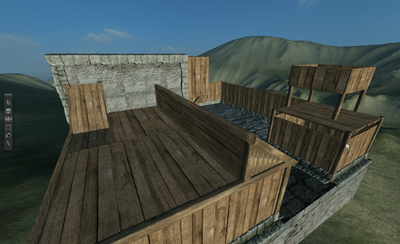
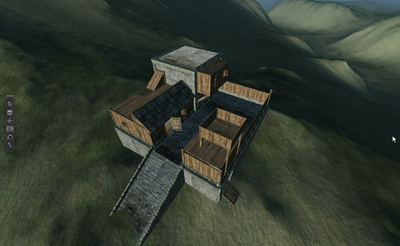
Here is what we have so far. The main build is pretty much done, and some of the build's detailing is finished as well. However, if you really want to make this complete, you gotta add something for Rabbot to interact with...