How to make your own Terrains for OG - Crash Course
Introduction
This tutorial is a "copy" of the "Secret Preorder Forum"'s tutorial that can be found here: http://forums.wolfire.com/viewtopic.php?f=13&t=4732
By Jo-Shadow
This is a Quick guide for those of you who want to make custom terrains, and want to do it now.
For those of you that want to make your own maps here is a small taste of my up-coming tutorial, which I am waiting on making due to some bugs in the engine (that hopefully should be fixed soon) and myself not having figured a few things out yet to the point where I feel comfortable that my guide woulld work for anyone.
That being said, use at your own risk. I can't guarantee that this guide will work without complications, but as usual I'll try to help figure out any problems.
It also won't be as detailed in step by step screenshots as my other guide. Again, this will come in the later, more complete version.
Once again, this guide assumes you are using Photoshop, but most things should work in principle with Gimp.
Note: some of the files that come with OG might be compressed as *.dds, with a filename like "greenhills_color.tga_converted.dds" to make them easier to load for the engine. To edit this file you can use the wolfire image converter, set it to 'tga' and drag the *.dds file in. The resulting File should be greenhills_color.tga_converted.tga" Rename that file what the name was without the "_converted.dds", in this case "greenhills_color.tga" When OG loads it will automatically generate a .dds file again, so if you edit the tga file make sure to delete the .dds file again just to be sure.
Making Heightmaps
- Height-maps have to be 16 bit, single channel (so greyscale) *.png images. So far you cannot use *.tga files.
- So far only the .png files exported from World machine work. if you try making your own file directly from within Photoshop, even if you set it properly to 16 bit and single channel gray-scale, and try to have it load into OG it will -not- load properly. You will just see a completely flat plane. (If you want to know why exactly this is happening go ask Phillip. It has something to do with their implementation of FreeImage doing something weird with the *.png formats with the heightmaps. I don't remember nor really understand it :lol: )
- A work-around for this is to create your map ontop of the existing heightmaps:
0. Duplicate one of the existing Heightmaps (found in Data/Textures/Terrain/...)
1. Open The Heightmap in Photoshop. it should say (Gray/16) after the filename in the title. This means that the image is in the right mode to be used as a heightmap for OG. anything else would be a problem.
2. Use layers ontop of the original to make your Heightmap.
- If you are using a 3rd party app to make a terrain like terragen or open source images from the web this is where you would paste them in. (I'm not sure if their formats would be supported as the engine stands right now. this way will make sure they work)
- using the gradient tool will help you make smooth inclines
- useful would also be Filter->Render->Clouds and Filter->Noise->Add Noise to generate randomness
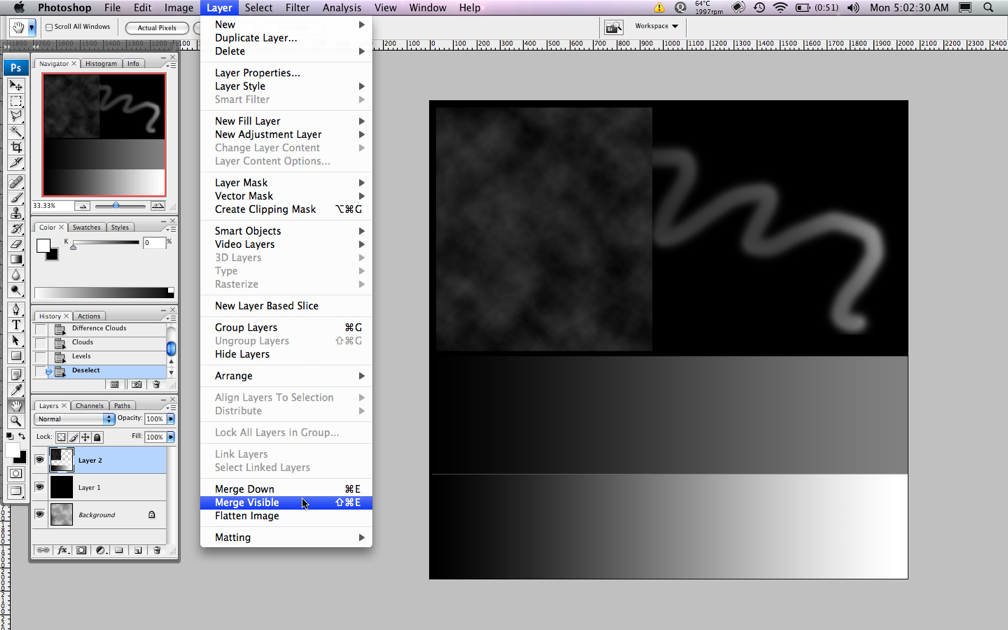
3. Once done flatten all the layers with Layers->Merge Visible.
Note: This step is crittical. If you try to save with multiple layers photoshop will ask you what format so save as, and if you then save as *.png it will not retain the original *.png formatting!
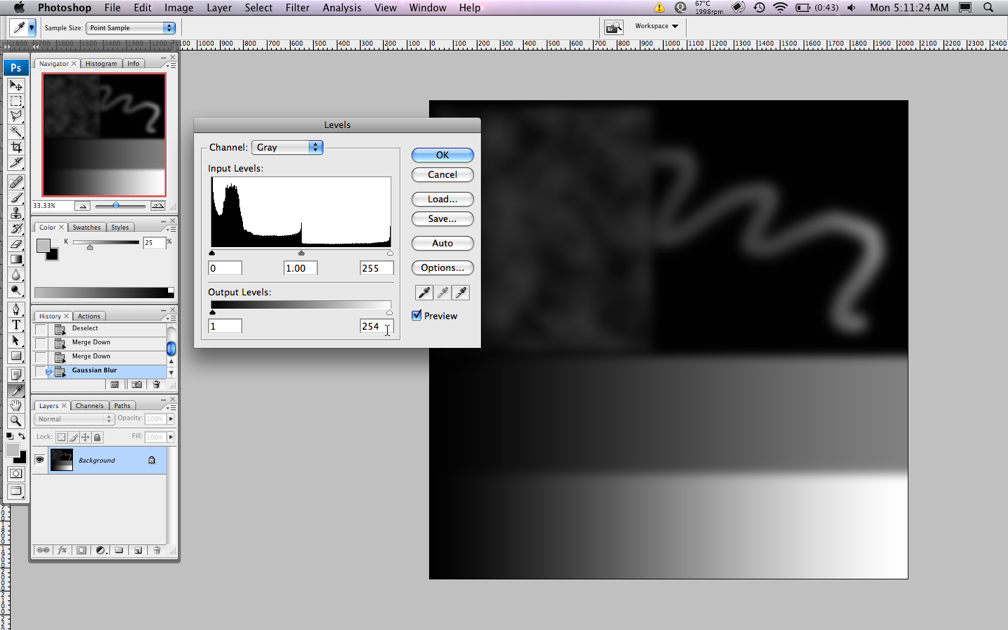
So that your Heightmap works correctly there are two more things you can do: 4. Filter->Blur->Gaussian Blur and do about 10-20 pixels. Even if you want to have a sharp wall, due to the current method that is used to simplify the Heightmap before rendering, the edges become very jagged and uneven when you try to have a sharp corner. I have found that Heightmaps look much better when you blur them a bit.
5. Image->Adjustments->Levels and for output levels put in 1 and 254. The engine will act up a bit if your Heightmap reaches to the max height and the lowest height, so this will make sure that none of your blacks are 100% black and none of the whites are 100% white.
6. Save. if you did everything correctly no file browser should pop up telling you where to save. this would mean that you saved the file correctly.
Note: I haven't had a chance to try making custom heightmaps in gimp, which might for some reason save as the proper *.png format. Feel free to try making your own 16bit/Grayscale image *.png and tell me if it works or doesn't work. if it doesn't you should still be able to use the above method to work on-top of an existing Heightmap.
You can also just modify small parts of the terrain, or just flatten small parts:
1. Open the Original Height-map
2. Use the lasso tool (L) or the Marquee tool (M) to select the part you want flattened, and make sure to set a feather value. this will make the edges of the selection blurry and so the edges won't look that hard.
3. Filter->Blur->Average to make it all one color, or use Gaussian blur to gradually make the selected part flatter.
4. Make sure that all the layers are flattened.
5. Save.
- Now that the file is saved feel free to change its file name to whatever you want, but don't do 'Save As'. as I mentioned before, this will not work.
Making Colormaps
- The color maps that go with terrain can be any image format. as usual *.png or *.tga would be preferred.
- if you want to make a grid for organizing your map here's an easy way:
1. Make a new, small image (about 32x32, 64x64 or 128x128 will do. the size doesn't have to be power of two, but it will fit nicer later) this image will be one piece that will be tiled to make the grid.
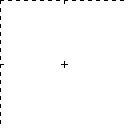
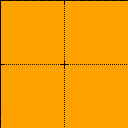
2. Using the pencil tool draw out lines on the left hand and top edge, and if you want in the center. make sure to keep in mind that this texture will be tiled, so there is no reason to draw on both edges. Here are two I made:
3. Go into Edit->Define Pattern... and save the pattern. just enter a name, or leave it as is and press ok. You can now close that window, now need to save.
4. Create a new image or an existing one. make sure it's the same size as your Heightmap, a large size like 2048x2048. Note: it might be interesting to know that at this size, rabbot only barely takes up one pixel on the map.
5. To use the grid select the paintbrush tool (same place as the gradient tool), set it to pattern mode, then select your grid pattern and click on the canvas.
it should fill the entire image with your grid. (do it in a new layer if you have trouble with getting it everywhere)
6. Once done, if you want elements of your Heightmap to line up with elements of your Color Map make sure to Flip vertically (make the top the bottom, and the bottom the top, and keeping left on the left, and right on the right). For some silly reason one of these is flipped when they are loaded (I think this should be changed btw. If you are listening phillip or david: it's silly and confusing. Work it into your WM2 pipeline if you have to, but the images that a user saves should look like they'd line up when you look at the images.)
6. Save the image.
Getting Terrain into the Engine
Your heightmap and Color map should be reasonably named (name_c.tga and name_hm.png for example), and they should both be in a folder inside the Data Folder.
Currently loading a level via the 'load' console command does not work. As a result, the only current way to test your terrain is by modifying the default Level file "GreenHills.xml" (Phillip hints that this might be fixed or improved entirely in the next alpha)
When you look at the file it is set up like this:
<?xml version="1.0" ?>
<Terrain>
    <Heightmap>Data/Textures/Terrain/greenhills/greenhills_height.png</Heightmap>
    <DetailMap>Data/Textures/ground_normal.tga</DetailMap>
    <NormalMap>Data/Textures/Terrain/ProcDesert/ProcDesert_n.tga</NormalMap>
    <ColorMap>Data/Textures/Terrain/greenhills/greenhills_color.tga</ColorMap>
</Terrain>
<Sky>
    <DomeTexture>Data/Textures/skies/Blue2.png</DomeTexture>
</Sky>
<SpawnPoints>
    <SpawnPoint t0="0.000000" t1="140.000000" t2="0.000000" s0="1.000000" s1="1.000000" s2="1.000000" r0="0.935894" r1="0.057120" r2="0.347610" r3="0.000000" r4="-0.054953" r5="0.998357" r6="-0.016100" r7="0.000000" r8="-0.347960" r9="-0.004034" r10="0.937498" r11="0.000000" r12="0.000000" r13="0.000000" r14="0.000000" r15="1.000000" />
</SpawnPoints>
<Objects>
...STUFF!!...
</Objects>
- The first part is self explanatory: put in the Filepaths for your files.
- DetailMap is a normal map. Feel free to leave it as is. It is tiled and adds some texture to the terrain when you look really closely at your map.
- The normal map part actually seems to not be vestigial. This would have been a normal map for the entire map, and can be found in some older alphas.
- DomeTexture is the sky. there are a bunch of other ones in Data/Textures/skies
- Spawnpoints defines the position/rotation/etc. of rabbot and the view at startup.
From what I can tell, only the first three matter much, t1, t2 and t3, describe the x, y and z coordinates of the spawn point. Feel free to change them to see what does what. Just make sure not to have Rabbot spawn under the map, or too high over the map, as with the physics as they are right now, he could fall through after too great a fall.
- The objects section contains all the data for the objects in the map, including the information normally found in the Object's XML file, but also its Groupings and transformations, similar to those in the spawnpoint, but here they also modify the X, Y and Z translation, rotation and scaling. Again, if you feel so inclined, mess with them to see which is which.
Plug in your terrain color and Heightmap filepaths and you should have no problems.
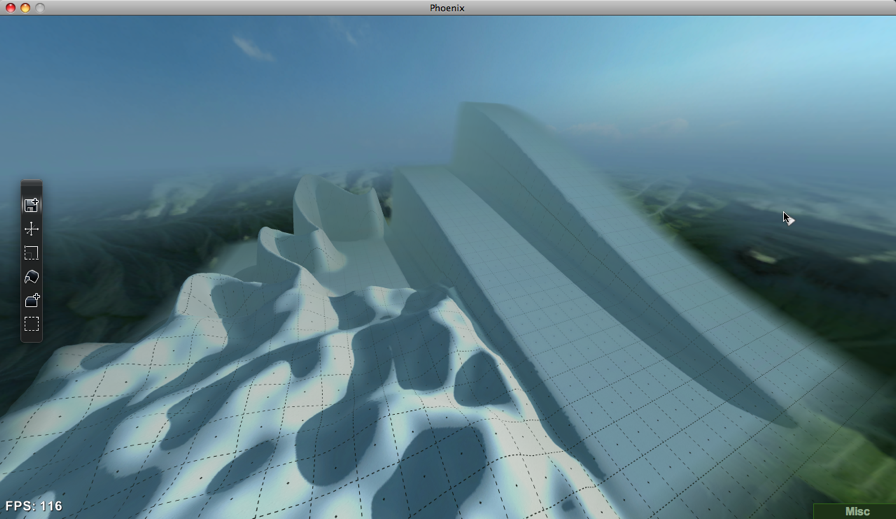
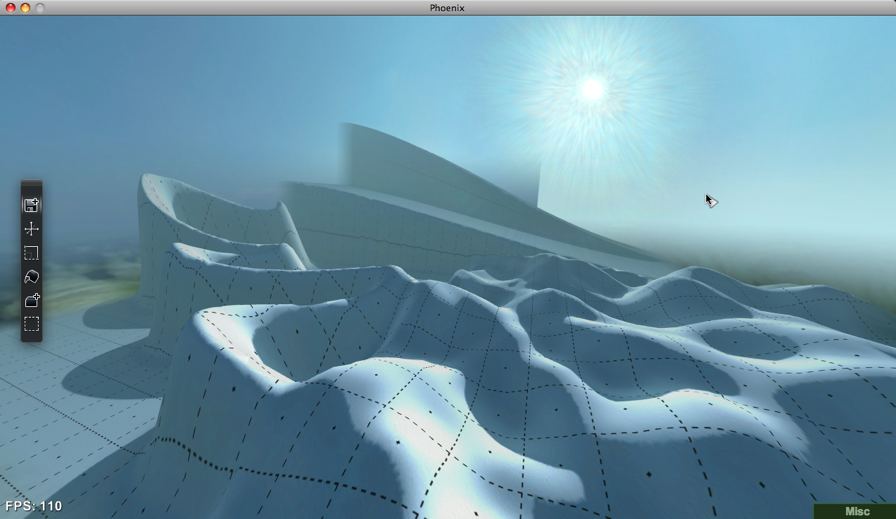
Here is what the above Heightmap and grid look like together:
(note the skymap is wrong because i was too lazy to change the sky, and so it did not update its texture to match this terrain)
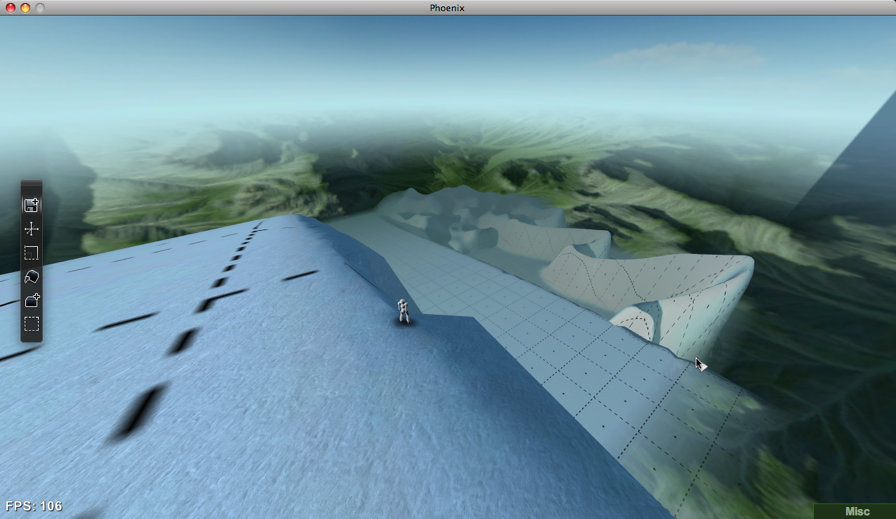
Here is a terrain I used for testing the range of the full height possible in OG, and the one I created in this tutorial (both feature the same large ramp-style):
If you have access to the wolfire's forums the tga files can be download here:
http://forums.wolfire.com/download/file.php?id=400
Some things to remember:
- The only important files in your terrain folder are the original heightmap and the original colormap files. The program will generate a bunch of files like name_lighting.png (calculated light) name_shadows (calculated shadows) and name_baked.png (the color map with shadows, and lighting baked on, changes depending on the sky) as well as a bunch of converted _dds files. all of these will be regenerated using the height and color map if you delete any of them so don't worry about any but the height and colormaps.
- Your terrain's shadows/lightings are calculated only when 1. The filepath in the level file changes or 2. Any of the baked files are not present.
- This also means that if you change your heightmap or even colormap, make sure to delete all of the baked files first, because otherwise the program might not realize that you changed anything
- The terrain is used to make the pre-baked sky. However unfortunately it only recreates this pre-baked sky if one of the baked sky files is missing or the sky path in the Levels file is changed. this means you might end up with your old terrain in the background after you changed to a different heightmap/color map. you have to delete the baked sky texture first.
- I'm probably forgetting something right now (why do I always write this stuff when it's 4:00 in the morning XD) so if something doesn't work or you have questions, comment or PM me.
A lot of changes should come with alpha 17, and as such hopefully some of the bugs mentioned in this quick guide will be fixed soon. Once I feel confident enough about it working reliably I will put out a full tutorial.
-Jo


